Floral Chair into Funky Fun Computer Chair

I found a chair for $5 the other day that I fell in love with! (Come on people, use your imagination!).


I unscrewed the seat part and just knew the current fabric needed to go....

 I covered some batting and fabric....and began stapling.....


I then sanded down the chair, painted it with metallic paint....


I reattached the seat with the chair base.....


Voila - perfect new computer chair! Easy peasy!
Get inspired today, Becky

Dining Room Chair into a Bench

Do you remember the desk I featured the other day??? I needed a funky seat to go along with it. I found an old oak dining room chair and went to work with the hammer and staple gun!

I hammered the top half away so I could just work with the seat and legs.

I sanded and painted the chair legs an awesome purple:


Once the paint was dry, I added a 2 inch fill cushion, fabric and began stapling. (For the record, I staple the sides first and then tackle the corners....(My apologies, I took photos of the stapling process but my upload didn't cooperate!)....


Oooh, I'm loving this seat!


Get inspired today, Becky

Ugly Lamp gets a Makeover

To make a quick funky make over of a lamp, I rescued a lamp from the local salvage yard for $6....
Okay, the lampshade was less than to be desired so I removed that bad boy and set it aside for another project.

The base was made of a wood type material, so I sanded it down to rough it up prior to painting

Then I spray painted the base with my new fav color - Krylon Metallic Paint!


It took two full coats for a great finish.

Now for the lampshade..since the ugly one had to be removed! While at Lowe's they had all Christmas items 75% off, including their lampshades, so I got this bad boy for $1.25...no joke!!!!

I gently pulled off the holiday ribbon....

I then chose a great pink binding and blue quilt binding to easily glue gun onto the edges....


Super cute! Now to add it all together.....


C'mon, such a cheap and easy revamp on a lamp...gotta love it!

Get inspired today, Becky

Vintage Desk Rescue

My hubby  got major points one day when he unloaded an old vintage desk he found on the side of the road. Now granted, he had to talk to the people, make sure they didn't want it, blah, blah, blah! This differs from me where I feel like if something is setting on the edge of the street then finders keepers, grab it, load it and go....no conversations needed! At any rate....

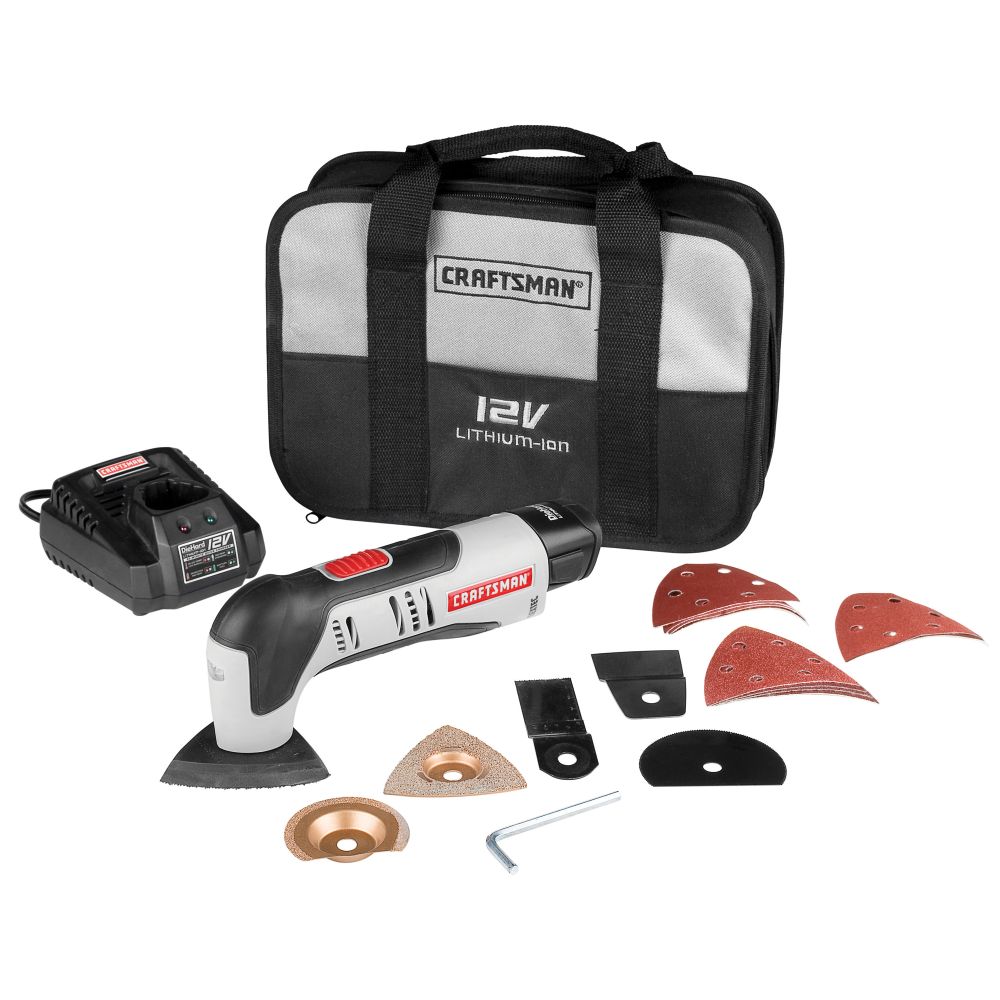
I sanded.....and sanded.....and sanded..... (my hubby got even MORE points the same day when my sander when kaput and he bought me a new Craftsman multi-tool).....A-MAZING!


I then painted 3 heavy coats of Valspar blue paint....

And added knobs....

With the knobs, I followed with a nice spray sealant, loaded it into the van and took it to my niece for her bedroom. (The stool and lamp revamps will be in the next couple of posts).


Get inspired today,
Becky

Grease Fire

I've made onion straws one thousand times before, but for some reason this time wasn't as successful as before....in fact, it was bad.....and scary.....and we are very lucky everyone is okay! A grease fire can get extremely intense quickly, and I am thankful I was the only one in the kitchen at the time!

The contractor comes on Monday to let us know if my 1950's stove is salvageable at all....if not I get a new stainless steel commercial double oven comparable to the one I currently have. I'm torn on the decision I'm hoping for, so I'll just wait to see. At any rate here's my kitchen before.....


I wish I had an old photo of my oven, but it looked like this in mint condition....

Fondue Gala Details

Annually my friend Erin and I host a fondue holiday party for couples only (kiddos have to stay at home). We provide the meat (chicken, steak, sausage, shrimp) and everyone else signs up for different sides. This year we made three different fondues - oil (for the meat), cheese (for the bread and sausage) and chocolate (for the breads, fruits and cookies). Wanted to share a few photos of the festivities....

Prepping for the party:
 We had 24 confirmed guests, so we converted the space with our specified color scheme (red, silver and white). The table cloths are scrap fabric, and the white plate have been collected over the year at garage sales. Each table had 2 oil fondue pots and two cheese fondue pots. (The chocolate pots were in the dessert station in the kitchen). We even covered the already beautiful curtains with red draped fabric.


We wanted everyone to have two similar color forks (to help alleviate confusion of whose meat is whose!)....however some of the forks didn't match, but Erin came up with an AMAZING idea....NAIL POLISH!!!! Not so sure why she had white and emerald green nail polish, but I didn't judge because it solved our problem!


 Along wth the matching white dishes, we wanted white napkins. At last minute I cut the last twelve napkins, but I didn't get a chance to serge the edges, but I came up with a very quick fix......sear the edges with FIRE!!!!! Worked out beautifully and no one new any different!


One cool feature we had was a "photo booth room" for our guests. We provided props, a camera on a tripod and a backdrop. It was a HUGE hit of the party! Below is Erin giving us a quick trial run....


We also like to give our guests a little take-home treat, to which we were inspired by an idea on Pinterest  from "Not So Idle Hands" (who doesn't love Pinterest, right?!).

Here's how we made them.....


Get inspired today, Becky

Stitch by Stitch: Review

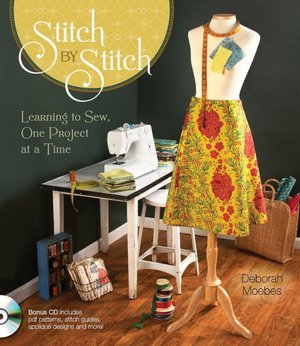
Today I received "Stitch by Stitch: Learning to Sew, One Project at a Time," a 223 page book by Deborah Moebes that was just re-released and am so excited to share it with you! This wire bound hardcover book even comes with a cd filled with patterns and guides! 

Liberate Creativity & Mod Podge Rocks

Guess where my project is today????

Mod Podge Rocks!

Click on her the icon to check it out!

Thanks for the feature Amy!

Santa Mailbox

So....for some of us Santa will come on Christmas Eve, the kids will leave a note for Santa with some cookies on the table, go fast asleep (We hope!) and in the morning run down the stairs to find presents under the tree! The whole thing is quite magical for them...so let's make it a bit MORE magical!


What about a special "Santa Mailbox" where the kiddos can send notes to Santa, AND Santa can send messages back???? Oooh, how fun! Here's what I did!


Change Up Your Kids Winter Hats


My boys winter hats get a little boring over the season, so I came up with a fun snazzy set-up for a cool kid! Why not have 1 hat that can alterate its look?!!! I found a dollar store grey hat, sewed some velcro to the front and came up with a few designs that can be "stuck" to the front of the hat....check it out!.....


Level: Beginner
Time: 1 hour or less (Depending upon how many designs you make of course!)
Topic: Kids, Accessories

Update Your Lamps!

So.....I had an okay lamp on our end table in our bedroom, but I'm never okay with "just okay"
So of course I have to update it! I found some buttons, some straws, spray paint, glue gun.....and forget about it!!!!


Extra Storage for your Stroller

Let's just get it out of the way - my photos aren't terrible, but they're not great either! Clearly I had the wrong settings and didn't pay attention enough to notice. UGH! At any rate, this tutorial is too cute and handy not to share, so I'm sucking it up and letting you all in!

This is a winter coat that was supposed to fit my second son for this winter, however, he's bigger than my first was at this time, so it wouldn't work! Yes, I could donate it, but how in the world would I be able to help Liberate Your Creativity if I did that! With this coat I created two separate projects. The first one was with only the hood. The removable hood has two snaps at the base and buttons along the button to secure itself to the coat.

Burlap & Starfish Wreath

I'm excited to feature Roeshel from The DIY Showoff today! Roeshel has offered a great project using burlap! Burlap is always a fun fabric to get creative with - so many uses and it's always wonderful to see what people come up with while using it! Be sure to visit Roeshel's site - she's got a great eye for creativity!
_________________________________________________________________________
Level: Beginner
Topic: For the Home
Time: 1-4 hours
Easy DIY Burlap & Starfish Wreath

Cutom Printed Napkins

If you have an upcoming anniversary party, birthday, wedding or some other function, consider making some custom napkins for the event! This may seem tasky, but it's sure to be something for your guests to talk about!
This is a simple project! All you need is a printer, digital photo and napkins!

Zoinks! Even More Scooby Doo Ideas!

I hope yesterday's  Scooby Doo Doo post inspired you a bit when planning your next festivity. I also wanted to show you what game we played as well as a cute display for an easy peasy appetizer.

Charley insisted there be a "mystery" at the party. So I came up with a plan that when the kids were outside playing musical chairs (to the tune of Scooby Doo of course!) the presents would be disappear! At the end of the musical chairs game I said "Okay guys, it's time to open presents!" Everyone cheered and bolted to the presents table. The table was EMPTY! There was a clue printed
out along with a handful of large magnifying glasses (found at the dollar store).